Want to add your notebook to an existing display environment? Then Synergy is for you. It’s a cross platform open source application that lets you control a systems mouse and keyboard through the network. Its server/client architecture let you extend the reach of your mouse and keyboard to other computers. Here’s how I configured Synergy for me:
I have two different environments I use Synergy for, but my work environment is probably the best example to demonstrate.
At work – I have a Windows PC and want to extend the desktop to my personal MacBook which I bring to work.
What’s great about Synergy is its ability to switch seamlessly from your primary computer’s keyboard and mouse to another computer’s and back whenever your cursor exits or enters the screen.
If move your pointer to the left end of your primary screen, for instance, Synergy can be configured to switch over to another computers mouse and keyboard making it feel as though that system is an extension of your desktop.
Unfortunately you can’t drag applications or windows between Synergy connected systems (because that would be magic), but you can copy and paste between them.
Here’s how I configured Synergy:
[step 1] Get Synergy+ for Windows and SynergyKM for Mac. Install respectively.
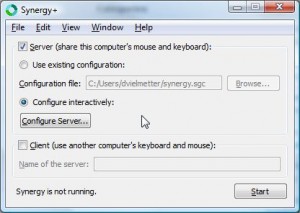
[step 2] At work my primary system is the PC, so here I configure Synergy+ as a server by checking the Server check-box and clicking Configure Server…
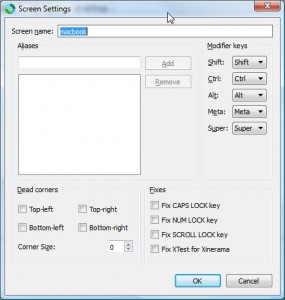
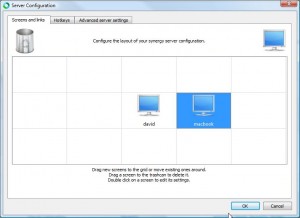
[step 3] In the configuration dialog, double-click the monitor icon in the center to configure the server. Then double-click a grid position to create a new client and specify its screen name including any hostname aliases it may have.
[step 4] Once created, you can choose a position for clients. The position you choose (top, bottom, left or right) will determine where you’ll need to move your pointer in order to switch over to your client systems’ mouse and keyboard. I choose the left because my MacBook is located physically to the left of my systems dual monitor setup.
[step 5] Once I’ve clicked OK, I’m ready to start my server by clicking the Start button.
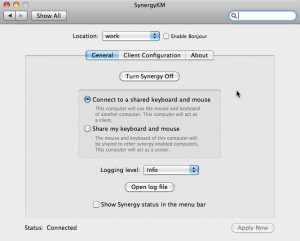
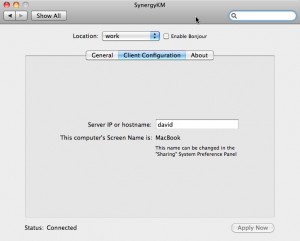
[step 6] On my Macbook I access SynergyKM by clicking System Preferences -> SynergyKM.
[step 7] Here i configure Synergy as a client by specifying the screen name of my Synergy server (My PC).
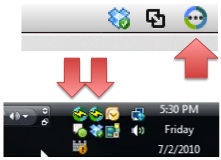
[step 8] Now that I’ve configured everything I’m ready to start my client and cross my fingers. A successful connection is indicated by the following icons in the notification area of the Mac and PC.
When you see these icons, you should be able to move your pointer seamlessly from your desktop to your notebook and back.
NOTE: if you’re having trouble, try looking at the log file on your server (View->Log). It’ll tell you if there was a failed connection attempt for any reason. Additionally make sure that you ALLOW the network service when you first start Synergy on a windows system.

Comments
2 responses to “Extend your desktop to a notebook”
Please change the title you can NOT extend the desktop with synergy you can CONTROL two or more pc’s with one kb/mouse!!
[…] written about Synergy in the past. Basically Synergy is neat software that allows you to extend the use of one computers […]