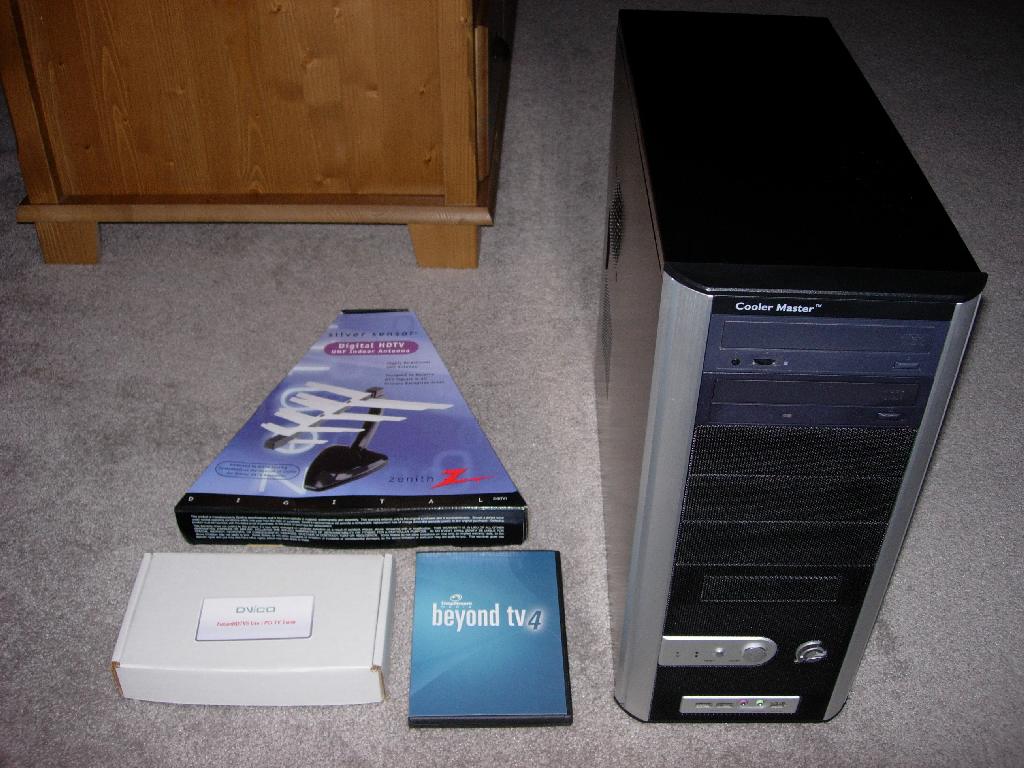
Since my last post on how to make your own DVR, I’ve gotten lots of emails asking about a HOWTO on building a HDTV capable DVR. So I decided to build one…and of course I documented my progress with all the screen-shots and pictures that made my first post so popular. Thanks everyone for your support.For the HD DVR project, I decided to go with the BeyondTV software package from Snapstream Media and a little more powerful hardware than my last project. Here’s what I’m running:
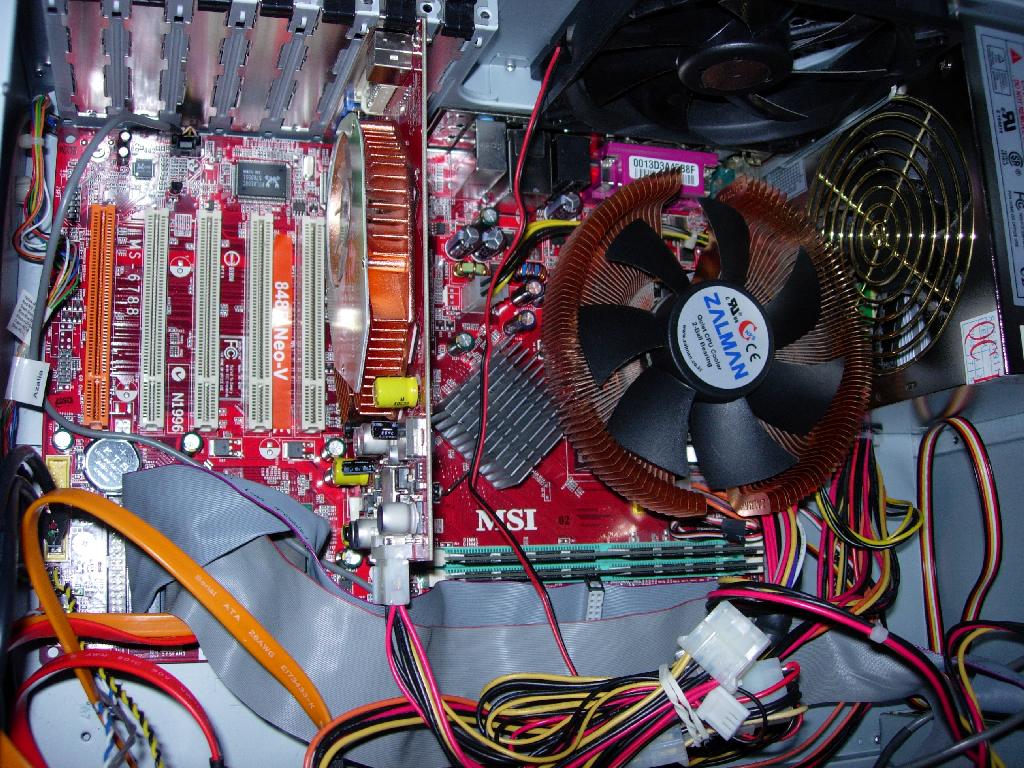
- MSI Motherboard with SATA, Ethernet, and 5.1 Channel Surround Sound
- Intel Pentium 4 524 3.06GHz 1M L2 Cache LGA775 Processor
- NVIDIA Geforce 6600GT with 128MB VideoRAM
- Seagate 400 GB SATA Hard Drive
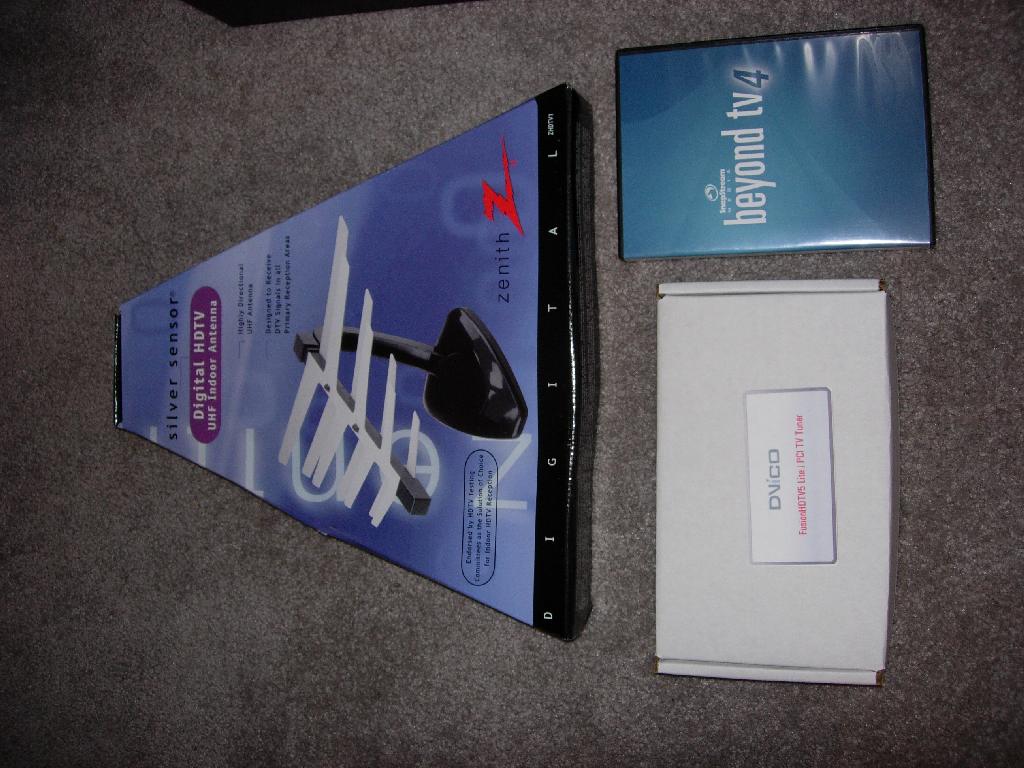
- DViCOFusion HDTV5 RT Lite HD Capture PCI Card (Included in BeyondTV package)
- Digital HDTV Antenna (Included in BeyondTV package)
- Patriot 1GB DDR2 RAM (512X2)
- CD and DVD Writers
- Zalman CPU Fan
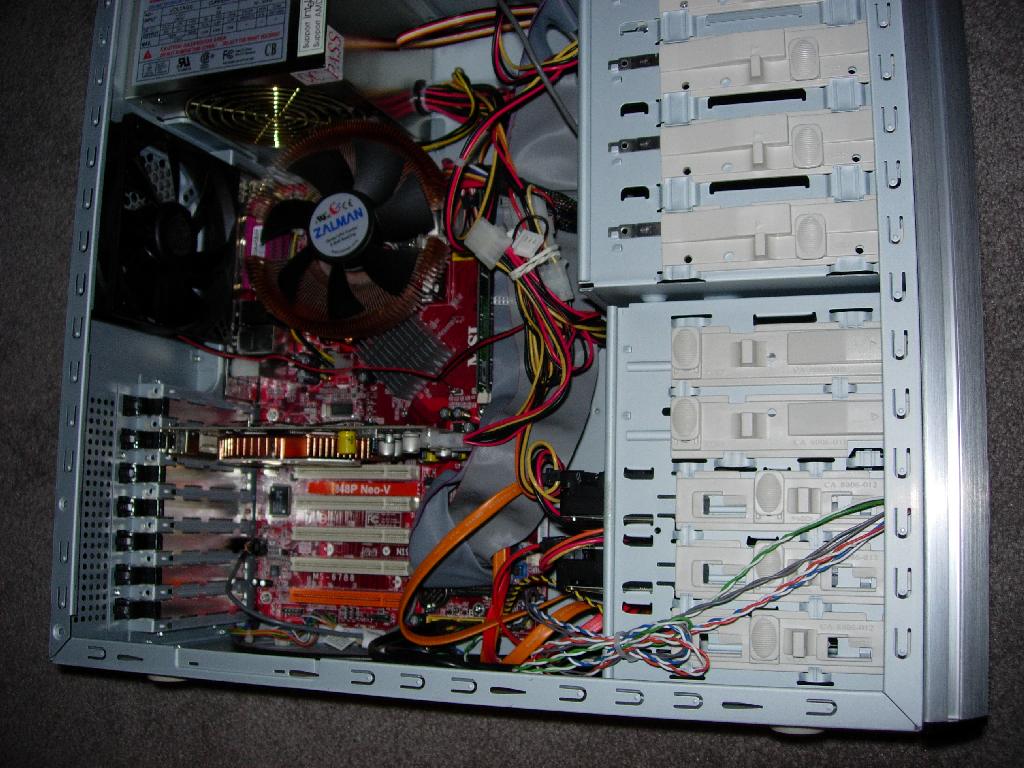
- Cooler Master Case
Here are the some pictures of the final assembly:

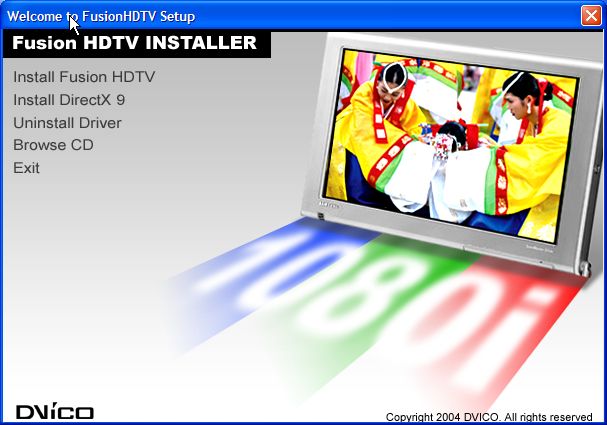
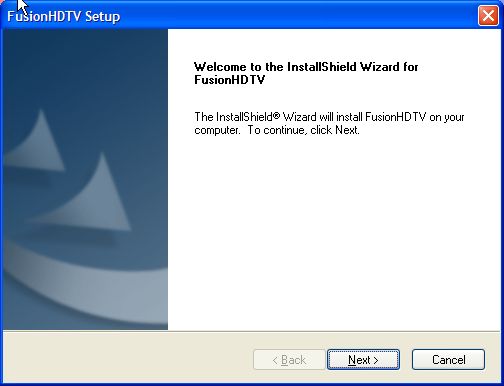
I also installed Windows XP Professional on my system in the same way I installed it on the previous DVR project. If you want to see how, just click here. With the BeyondTV DViCO FusionHDTV Package installation and configuration of the PVR is a snap. Install the Tuner Card and drivers with the help of a simple instruction guide. First I installed the DViCO FusionHDTV RT Lite PCI Card drivers from the Manufacturer provided CD.

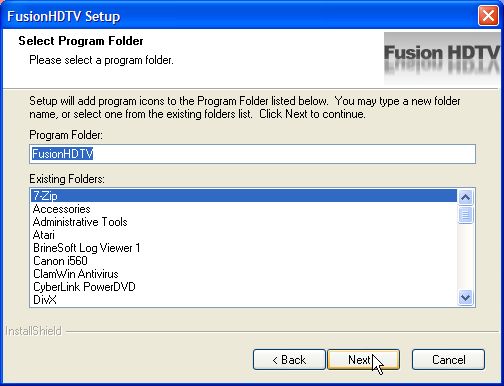
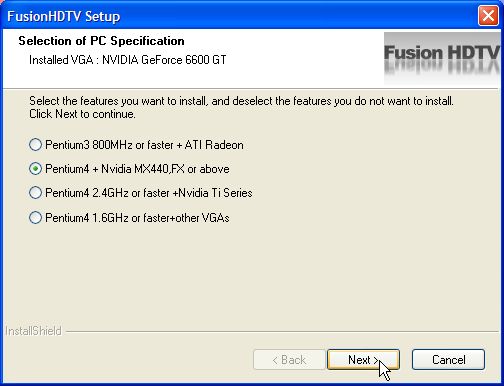
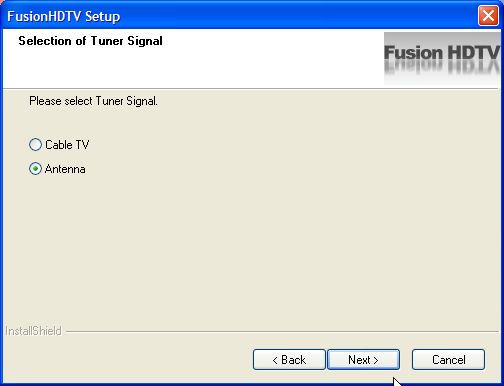
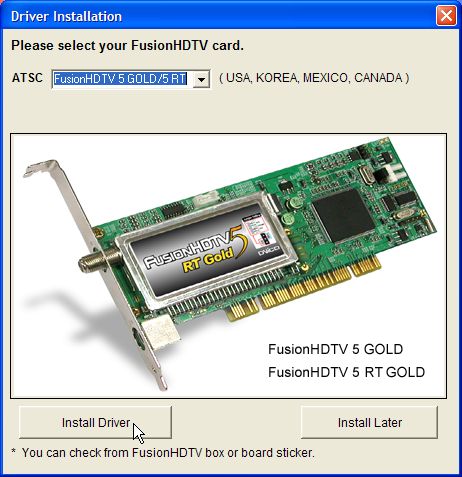
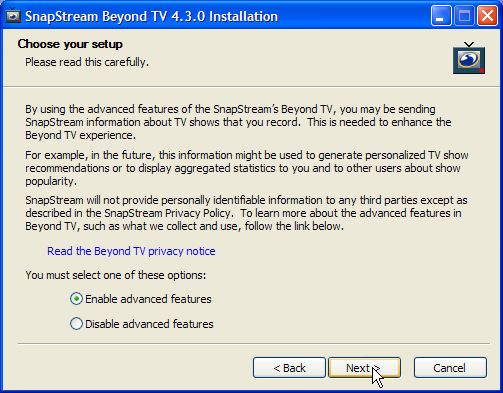
Note that in step 8 of the driver installation wizard, you will have to choose your proper FusionHDTV Model, if you choose the wrong card here your driver installation will fail and BeyondTV will not detect any valid video adapters. I found the FusionHDTV software useful to fine tune the best place to put my HDTV antenna. Since HDTV reception was sort of scarce in my house, it took me a while to find a good spot with reception for channels 2, 4, 5, 7, 9, 11 and 13. Using the FusionHDTV tv viewer let me see the reception while moving the antenna around. Once I found a good place for the antenna, I proceeded by installing BeyondTV. Installing the software is really simple and straight forward – put the CD into the CDROM drive and keep clicking Next…

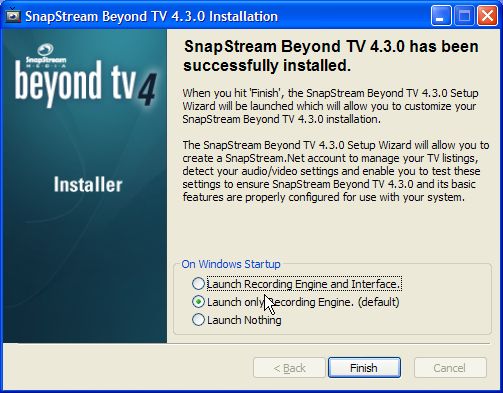
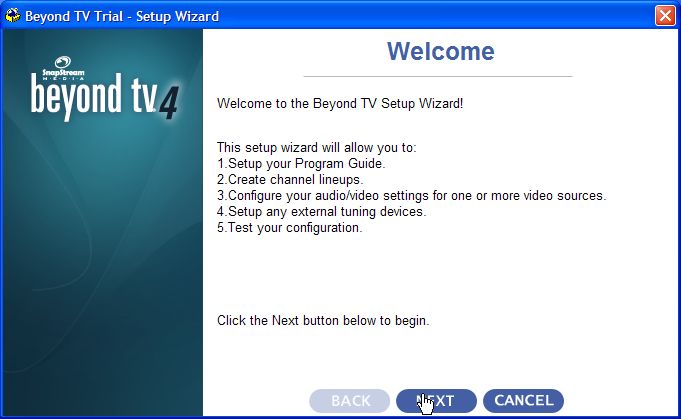
After BeyondTV has been installed you’ll need to go through the BeyondTV setup wizard which is easy to follow and will configure nearly everything you’ll ever need to adjust. After you’ve installed BeyondTV you’re ready to proceed with the BeyondTV Setup Wizard. This easy to use wizard will configure absolutely all options necessary to record and view HDTV. Lets get started. If you didn’t run the BeyondTV Setup Wizard (BSW) immediately after the BeyondTV installation, you can launch it at anytime by clicking the shortcut icon on on the Start Menu.
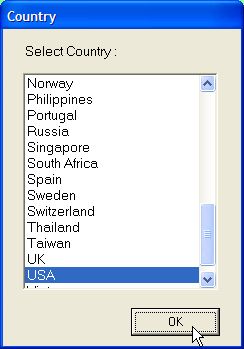
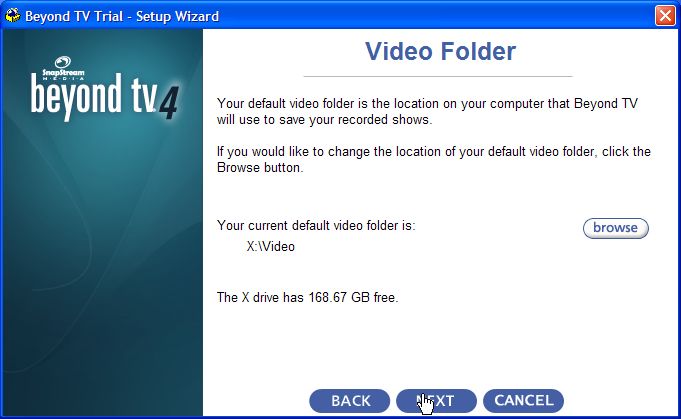
- Specify you Country and the default Video Folder. (This should be a directory on your large capacity hard drive. If you use the C: drive it will fill up Quick!)
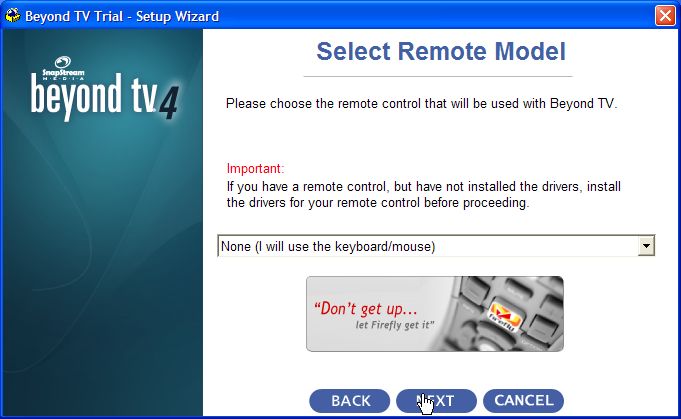
- Select the remote control you’ll be using.

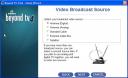
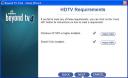
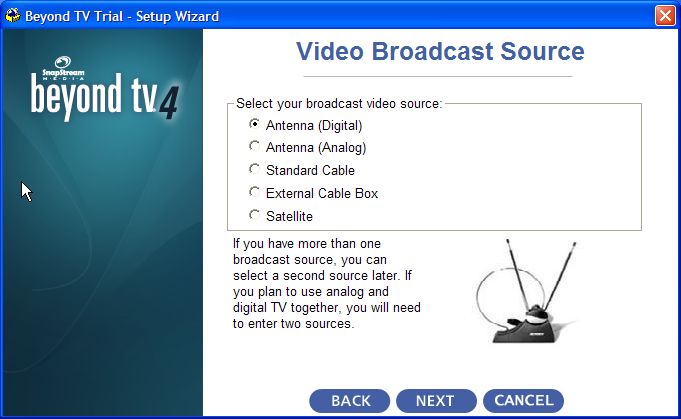
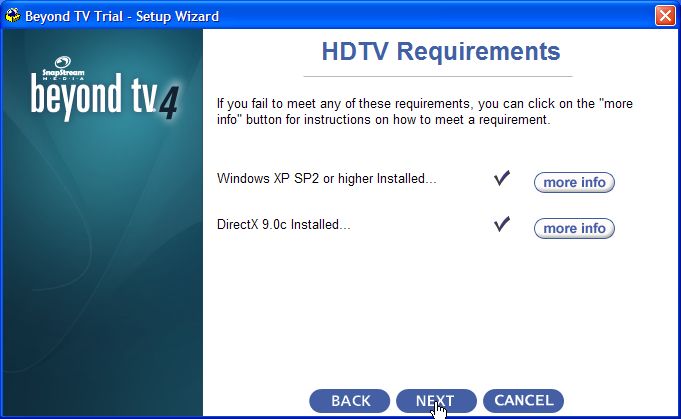
- Choose your Video Broadcast Source. (If choose Digital TV you must have Directx9.0c and Windows XP SP2 installed)
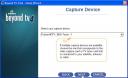
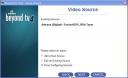
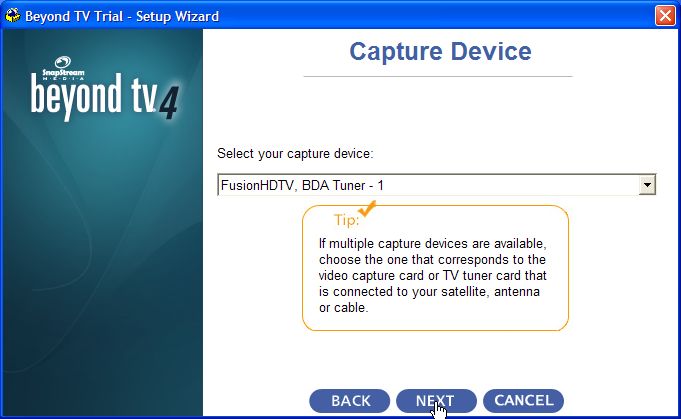
- Select your Video Capture device from the list. (Drivers for any capture devices should have been installed prior to BeyondTV)
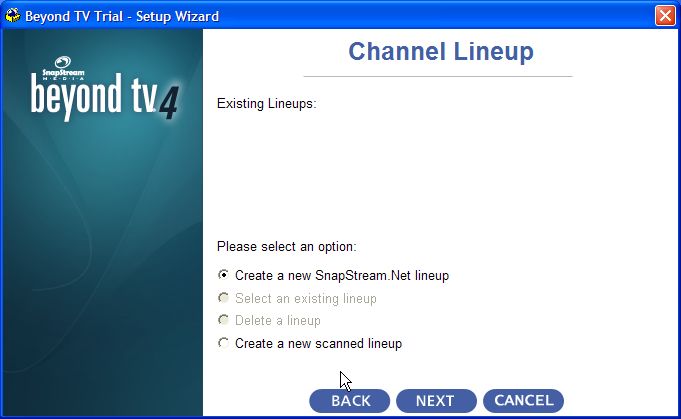
- Create a new SnapStream.net channel lineup. (If you have multiple adapters or Video Broadcast Sources you can add several different lineups)
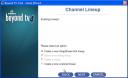
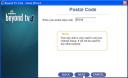
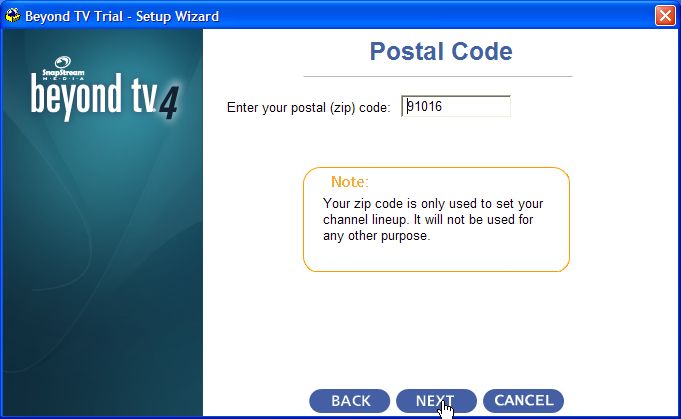
- Enter your postal (zip) code to locate a channel lineup.
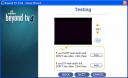
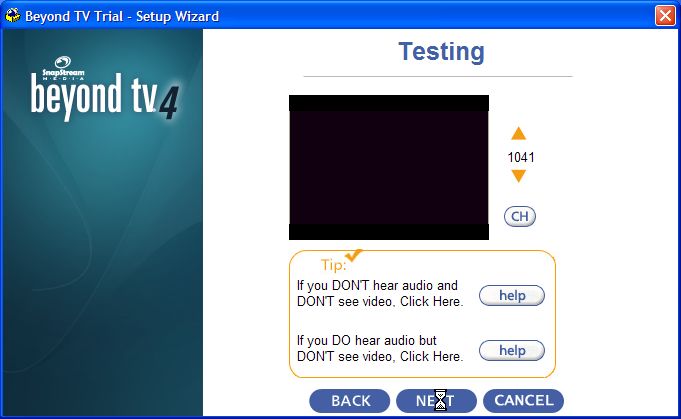
- Check to see if Video and Audio are working Properly. (If you’re not hearing or seeing video chances are the reception for that channel is too low. Try switching to another channel with better reception)
- Finish the Wizard by Selecting “Done Configuring Sources.”
- When you click next at this final step, the wizard will save your settings and launch BeyondTV.


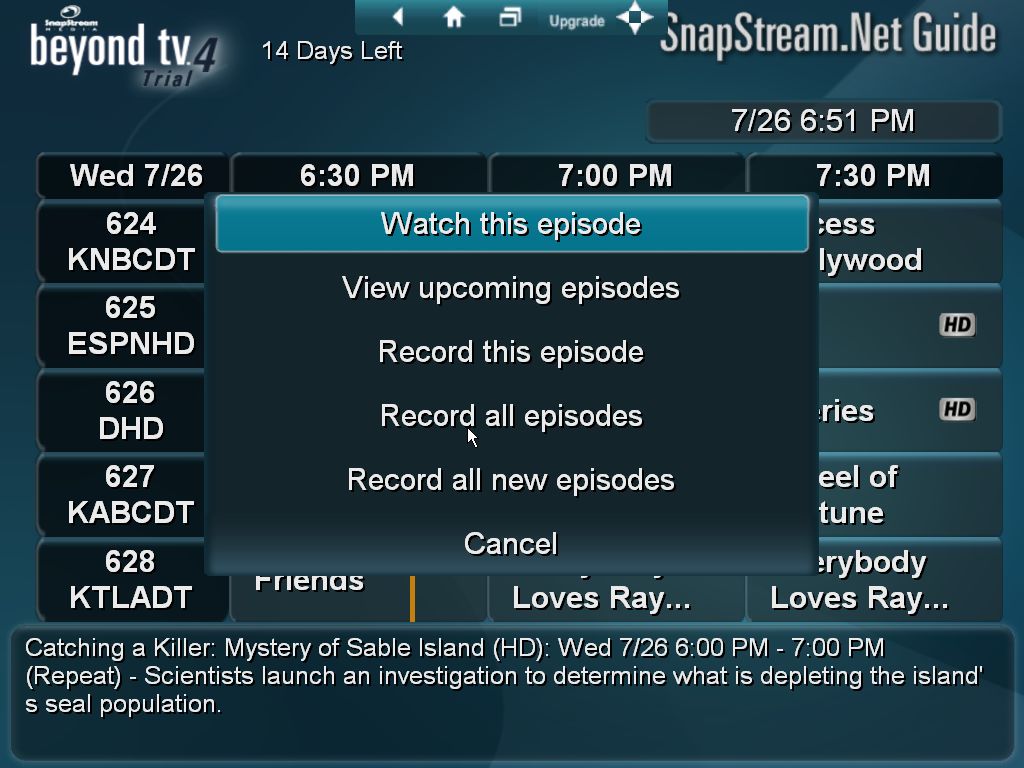
When BeyondTV has launched and you should be able to tune to a channel using the Channel Guide and start recording HDTV!

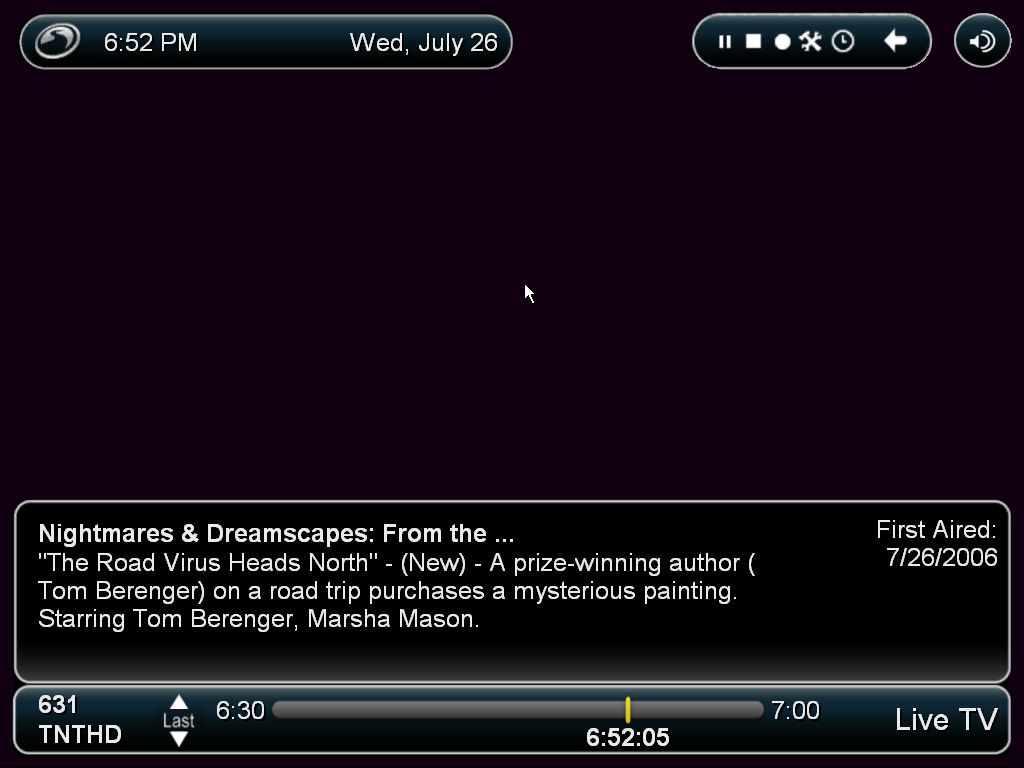
My screen-shot utility wasn’t able to capture video, so I took some pictures with my digital camera. They don’t do HDTV justice, but I’m posting them for proof of concept:
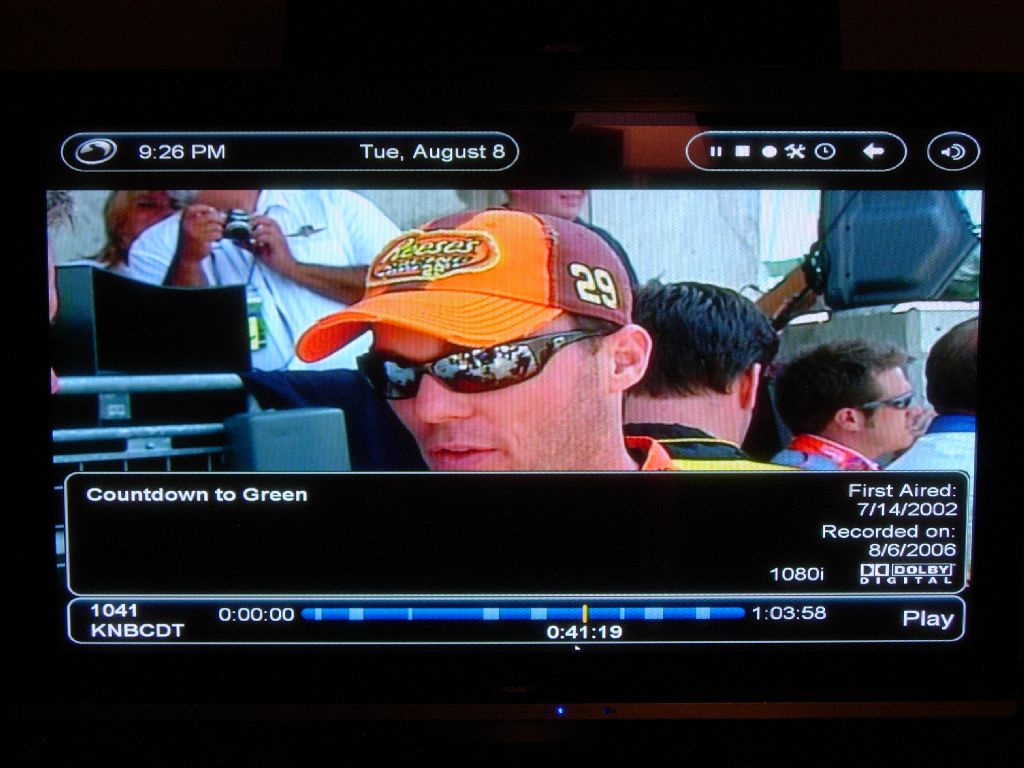


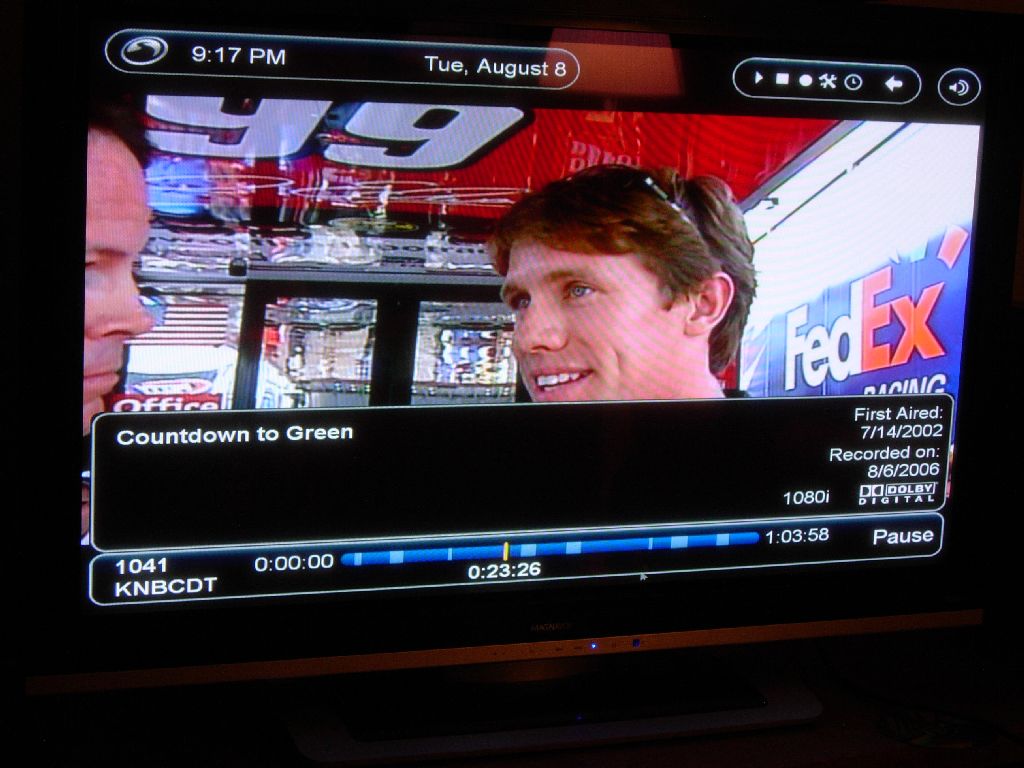
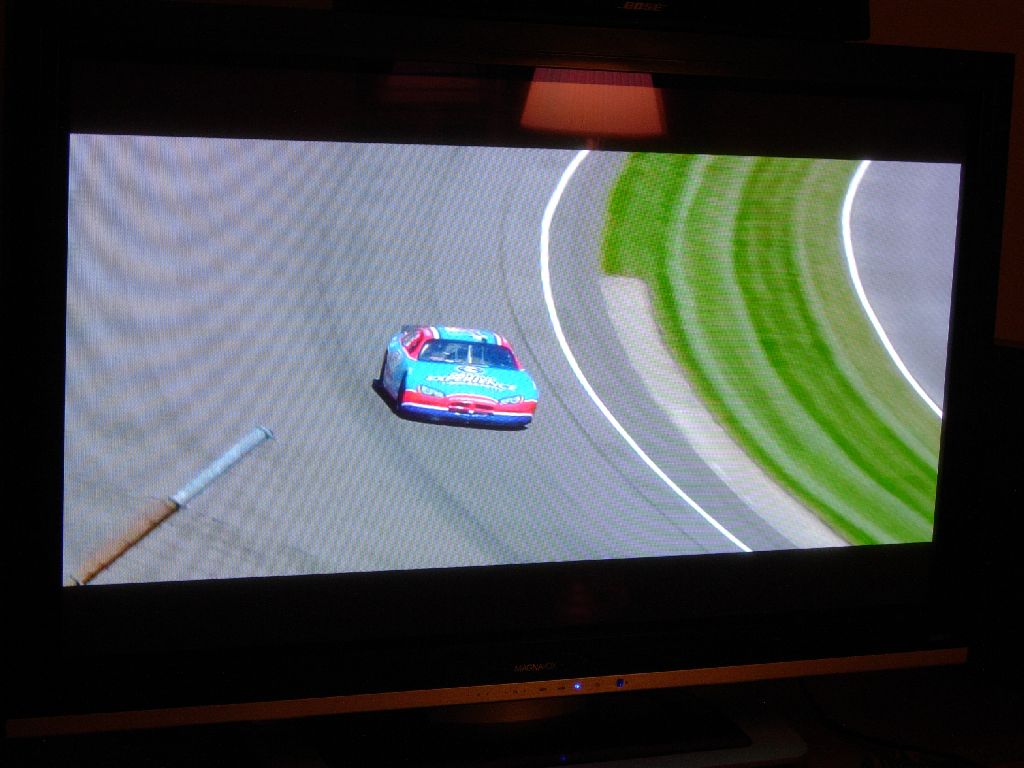
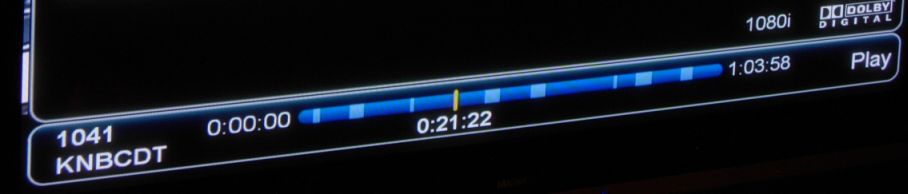
Sweet! In BeyondTV no additional software or modules are needed for commercial segment detection and automatic skipping. All options can be configured easily from within BeyondTV’s easy to use dashboard. With SmartSkip enabled your recorded video segments are going to look like the image below where commercial segments are highlighted slightly lighter than the rest of the programming.
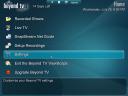
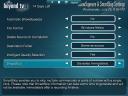
- Once you’ve got BeyondTV launched, simply navigate to Settings
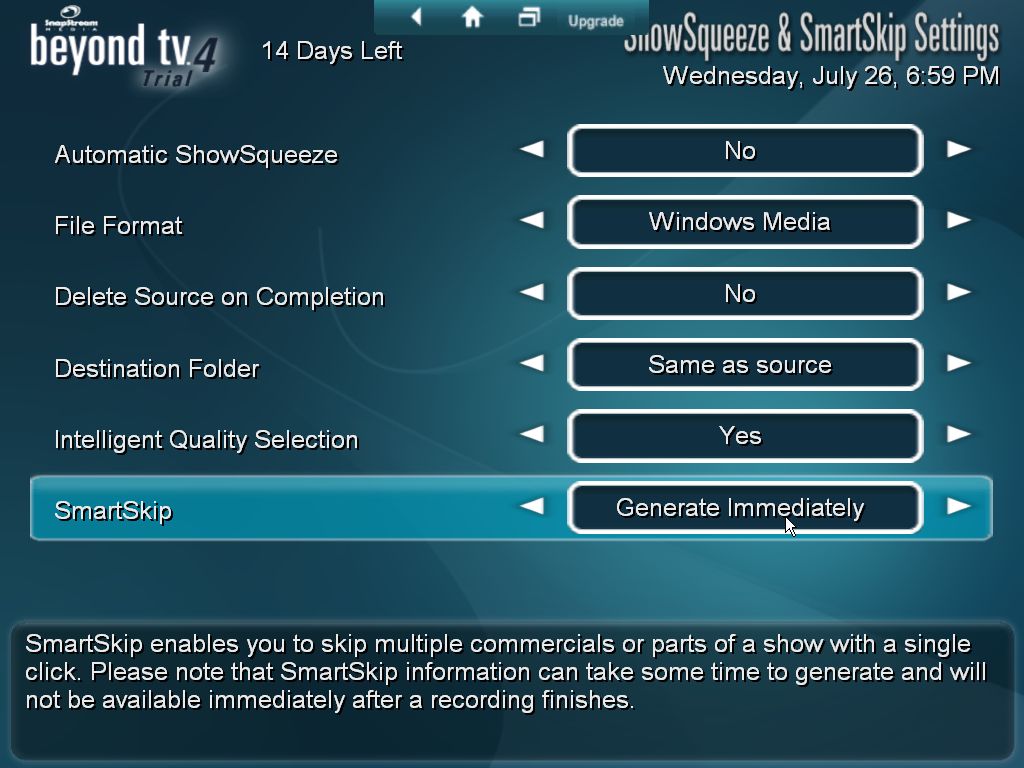
- Change the SmartSkip setting to Generate Immediately.
- That’s it! It’s that easy.
The player will automatically skip the detected commercial segments segments (shown as the lighter segments in the image below).
Awesome!