Say you were conservative when you first created your DHCP scope and now your company has grown past those initial conservative estimates. Now you’re stuck with a DHCP scope you can’t expand. Whether you’re trying to add 50 hosts or thousands, you’re stuck in the same situation. Delete and re-create your DHCP scope. Use netsh to make the process easier.
[the problem]
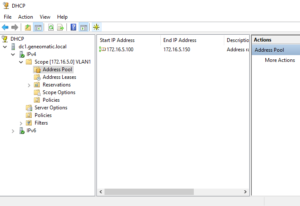
You have an existing DHCP IPV4 scope you’d like to expand. In this example, we’ve got a DHCP scope named VLAN1 that starts at 172.16.5.100 and ends at 172.16.5.150 with a 24 bit mask and you want to change it so that it starts at 172.16.5.100 and ends at 172.16.5.200 with the same mask.
[the solution]
You could simply delete and manually re-create the scope. But say you’ve configured lots of scope options and you don’t want to document each option before deleting the scope and then have to work to manually re-create all the scope options from the documentation. Here’s how you can with the netsh utility.
[step 1] Open a command prompt as administrator.
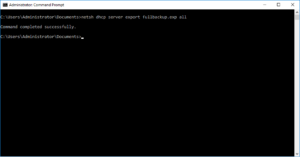
[step 2] type netsh dhcp server export C:\Users\Administrator\Documents\dhcp_fullbackup.exp all
This will create a full backup of the DHCP configuration (or database) in a non-editable format. Keep this file in a safe place in case something goes wrong. NOTE: Alternatively you can backup your DHCP database from within the DHCP MMC.
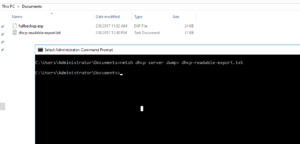
[step 3] type netsh dhcp server dump> C:\Users\Administrator\Documents\dhcp-readable-export.txt
This will create an editable text file with the DHCP configuration in ASCII format you can read and edit.
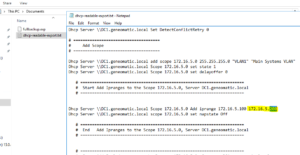
[step 4] Edit the file dhcp-readable-export.txt and modify the line with the ending DHCP scope address. In this example, we’re changing the ending address from 172.16.5.150 to 172.16.5.200. Then save and close the text file.
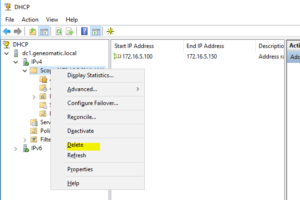
[step 5] Delete the existing DHCP scope from DHCP using the MMC.
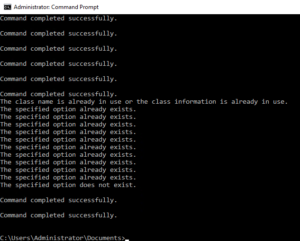
[step 6] In the command prompt, type netsh exec C:\Users\Administrator\Documents\dhcp-readable-export.txt
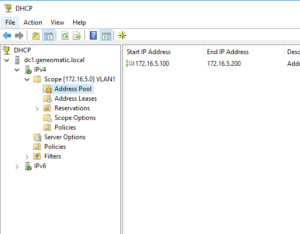
[step 7] In the DHCP MMC, refresh your DHCP Server and ensure that the scope has been added successfully and now has the new IP range you modified in [step 4].
