This article covers the steps necessary to properly terminate an Ethernet cable. There are several ways to do this and each has benefits for a given application.
First we’ll cover the male adapter or RJ-45 plug:
[requirements]
- Crimping/Crimp tool – available at most computer/electronics retailers
- CAT5e or CAT6 Ethernet cable
- RJ-45 plugs – also available at most electronics retailers
- Wire snips or solid wire cutting capable scissors
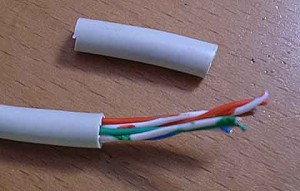
[step 1] Strip about an inch of insulation from the end of the cable being careful not to nick the wires inside. Untwist all of the pairs of wires and cut off any pull string inside the insulation.
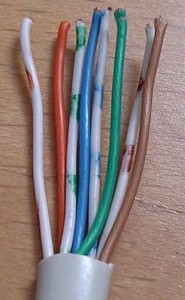
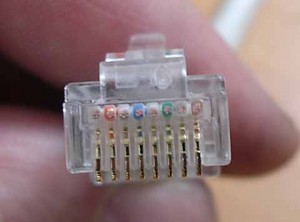
[step 2] String on a snag less sleeve if you have one. Then arrange the wires in this order flat between your fingers or on a flat surface.
1. white/orange
2. orange
3. white/green
4. blue
5. white/blue
6. green
7. white/brown
8. brown
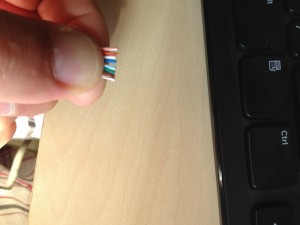
[step 3] Use the sharps edge of your crimp tool or wire snips to cut the flattened wire sequence so that all wires are the same length. Cut off enough wire so that you have about 1/2 to 3/4 of an inch of wire before the insulation starts.
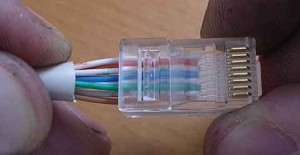
[step 3] Grab an RJ-45 plug and insert the flat set of arranged wires into the plug such that white orange is on the very left hand side of the plug’s flat side.
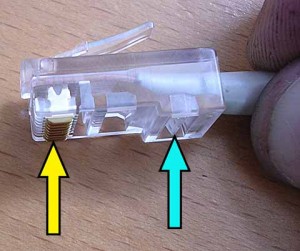
Make sure all wires are pushed all the way into the RJ-45 plug and the insulation enters the plug past the point indicated by the blue arrow. If the insulation isn’t in the clip far enough when you crimp it, it won’t stay in the plug.
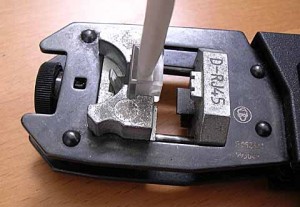
When the wires and insulation fit properly, crimp the plug with your Crimping tool.
That’s it for the male RJ-45 plug.
Next we’ll cover a female adapter or keystone jack:
Requirements
- A Keystone Ethernet Jack
- A Punch Tool with a 110 blade
- Wire snips
Procedure
[Step 1] Strip about an inch of insulation off your Ethernet cable and untwist the wires. If this is your first time, you may want to strip a bit more insulation off.
[step 2] Untwist the wires and cut off any pull string in the insulation.
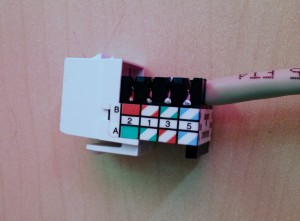
[step 3] Grab your keystone jack and look at the labels on it. There will likely be two sets of color legends for the wire slots. One labeled A, the other B. The default wiring pattern you want to use is “B”.
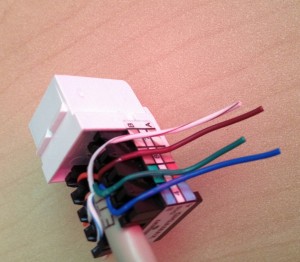
Take your cable and push it into the center of the keystone jack, then pull each colored wire down into its designated slot. NOTE: Fingernails can be helpful here by holding the wires in place while pulling down on the end of it so that it snugly enters its slot.
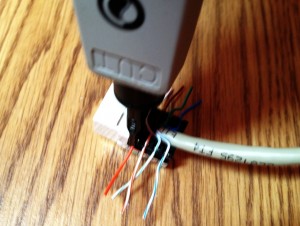
[step 4] Once all cables are snugly in their slots, place the keystone jack on a flat solid surface. Take your punch tool and with the “CUT” side facing towards the end of the wire, impact setting on LOW and punch down each wire.
Notice that the slack of each wire will be cut off by the blade as your pushing the wire into its slot.
That’s it. Make sure you test your cable before using it in production.
Comments
2 responses to “Crimping a proper Ethernet patch cable”
This is a very good article. As far as I’ve read several articles. Thank you.
This is some really good information about cables. I liked that you explained that it would be smart to have a slot for the wires to go into. That does seem like it would help you stay organized and know what cables go to.