Microsoft has finally managed to get modern authentication to work in the latest updated versions of Office products included with Office 365 (Except for Skype for Business – which is being discontinued anyway).
Here’s a quick start guide on how to get it up and running:
You’ll need an Office 365 subscription, a computer running Windows 7 or higher and a mobile device (Apple iOS or Android).
Connect to your Office 365 tenant via powershell and ensure that modern authentication is enabled by running this command: Get-OrganizationConfig | Format-Table Name,OAuth* -Auto
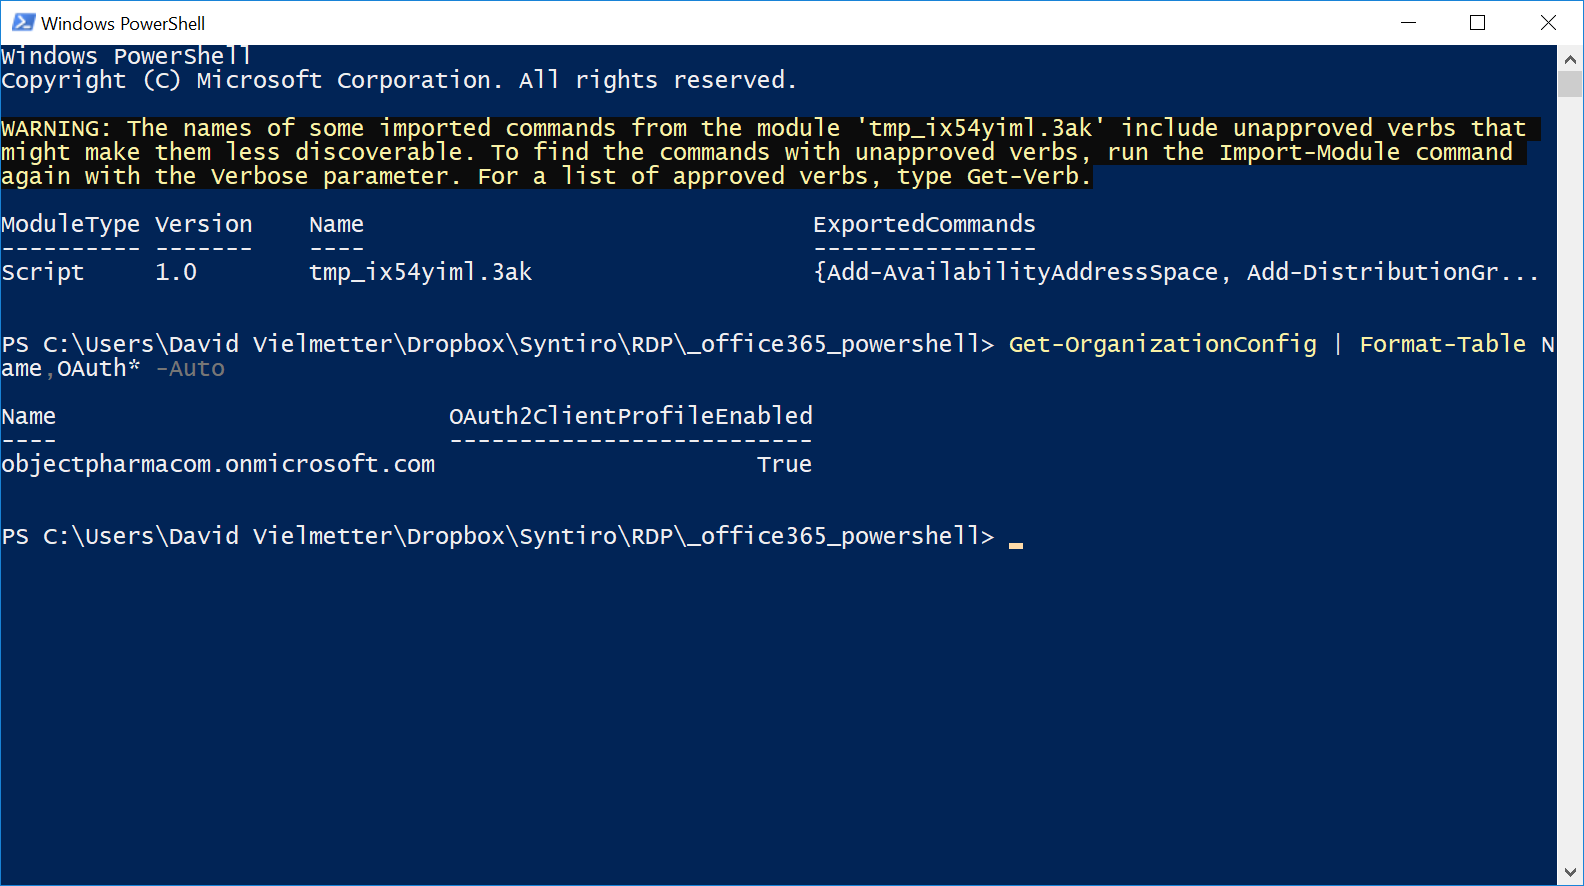
If the Oath2ClientProfileEnabled is True, move on to the next step. If it is False, run: Set-OrganizationConfig -OAuth2ClientProfileEnabled $trueNOTE: This change will have no global impact on your users other than being able to turn on MFA for specific users.
Next, visit the Office 365 admin center and pick a user to enable for Multi-Factor Authentication (MFA). NOTE: Enabling MFA for a user will immediately affect how this user logs into Office365. Likely the users existing partnerships for Outlook and Mobile device will no longer work once this change is made, so forwarn your users! P.S: You can enable MFA for multiple accounts via powershell.
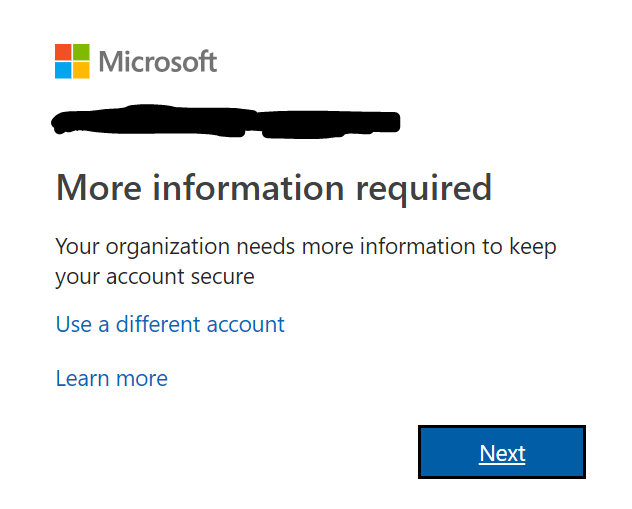
Sign-on as that new user. You’ll be prompted to provide a phone number to proceed. You may opt for a phone call or text message for your backup second factor method.

Once signed into your account with MFA enabled, you can now set up modern push enabled MFA. To do this, download the Microsoft Authenticator App from the Apple App store or Google Play store.
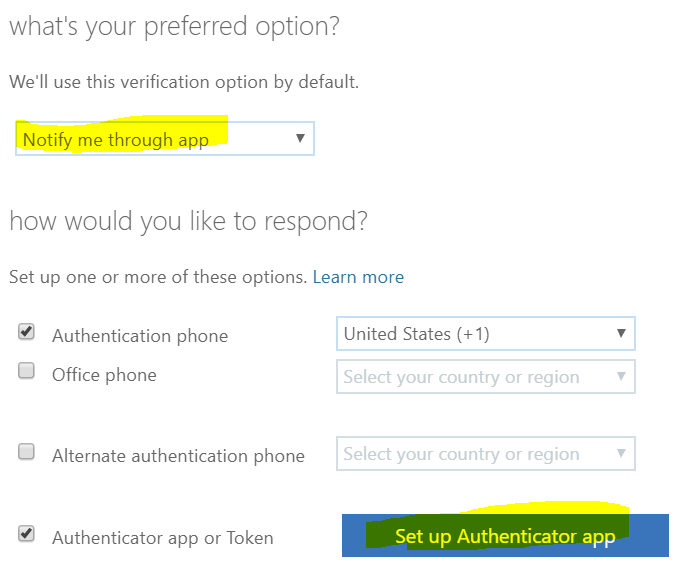
Next sign into your Office 365 account and go to My Account>Security & privacy. Then click the Additional security verification link, check the box stating “Authenticator app or token” and click the Set up Authenticator app button. Click the + sign in the App and select Work or School account and point your phones camera at the QR code shown on the screen. Then complete the set up process by tapping Allow on your phone when prompted.
Now when users attempt to log into that MFA enabled and set up account the following will occur:
- The user enters username and password as he/she originally did.
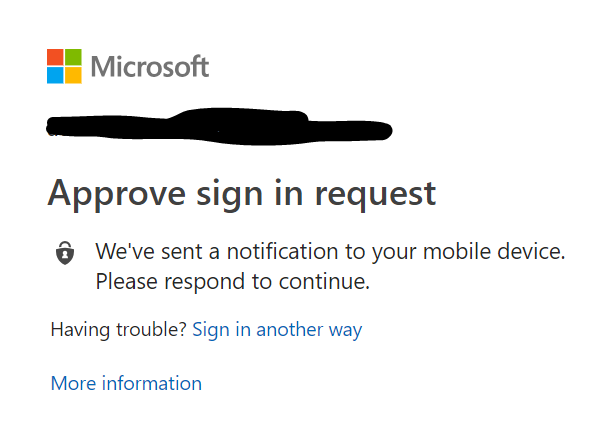
- The user is now prompted to check his MFA push request and allow the sign-in. On the mobile device the notification will appear as follows.
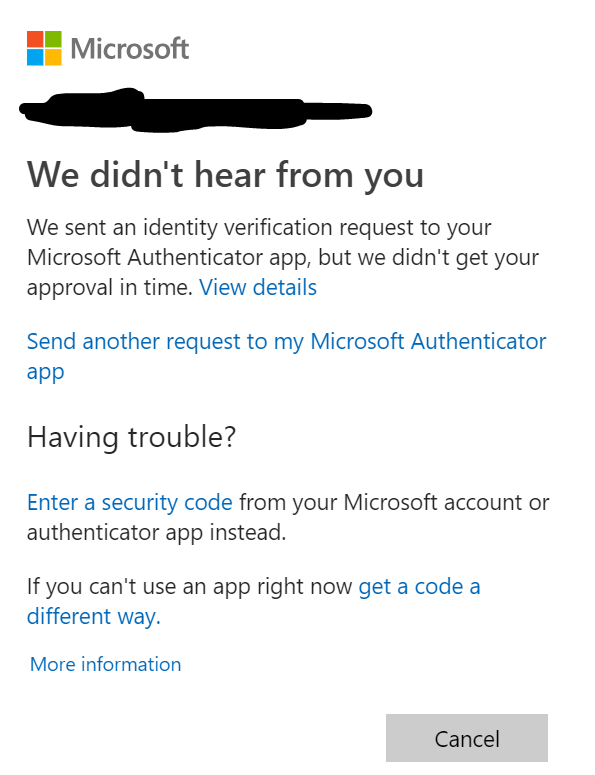
- If the user does not respond within the 30 second timeout, an option to resend the request is automatically shown.
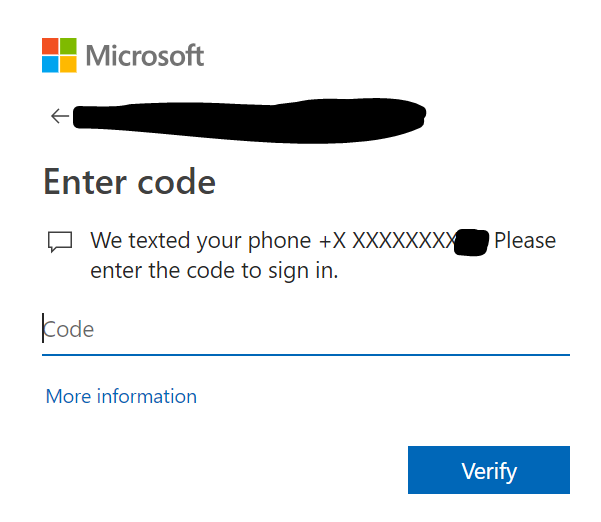
- Users can also click “Sign-in another way” to utilize the MFA code via SMS message option or any other option originally set up.