Windows 10 has had sporadic issues with its own implementation of the Microsoft (builtin) VPN client connecting L2TP IPSEC based VPN connections that utilize strongswan at the server end. This issue has affected builds 1709-1903.
[problem]
- The VPN connection (when launched from the notification area) just says Connecting and never gets established.
- Eventually the following error is displayed.
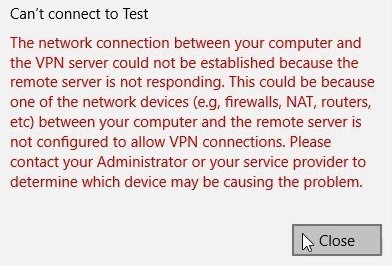
When this error is entered into a Google search, the resolution suggestions vary greatly, but none of the solutions on the first page of results properly address resolving some of the core causes of the issue.
Let’s dig a little deeper and find some solutions. First, there are a collection of possible problems that can have the same symptom (VPN connection displaying Connecting but never completing in Windows 10).
- The VPN server is not reachable on ports 500 or 4500.
- You’re connecting with multiple Windows devices from the same NAT IP address. This is a known limitation for Windows with Strongswan L2TP.
- You’re encountering a bug in Windows 1903 which manifests itself by properly establishing VPN connections from the Settings dialog but not the Notification Area.
[solution]
It’s unclear to me whether this is a bug in Windows 10 generally or if it’s specific to VPN implementations that utilize strongswan. In my testing, this solution fixes only the specific VPN issue where connecting hangs if launched from the notification area but works if launched from Settings.
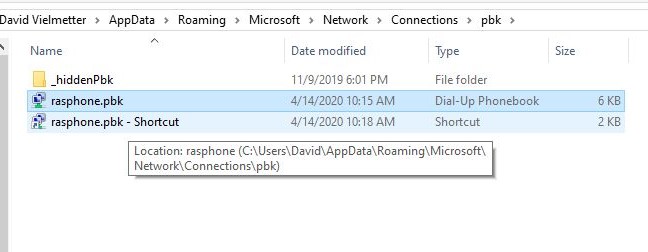
- Press WIN+R on the keyboard to bring up the Run dialog. Enter %AppData%\Microsoft\Network\Connections\pbk into the Open field.

- Click OK.
- This will open an explorer window to the users legacy dialup/vpn connection executable. The executable is rasphone.pbk. Right-click this executable and select Create Shortcut.
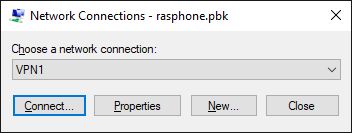
- Drag the newly created shortcut to your desktop and rename it to whatever you like. This will be how you launch the VPN connection going forward.

- Double-click the shortcut to view a list of your existing VPN connections. Select one and click Connect… to open that VPN connection dialog.
- You’ll be presented with the legacy Windows VPN/Dialup connection dialog. Enter your credentials (unless they’re already saved) and click Connect.
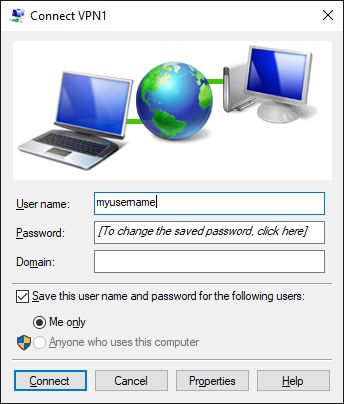
That’s it.