SageTV Media Center can stream shows effortlessly to any SageTV Client in your house, but if you want to stream HD content you’ll need to step up to Wireless N for additional bandwidth. I’ve configured SageTV Client on my VAIO notebook in the bedroom and it now plays streamed HD content on an external 24″ HD display and auto-skips commercials too. Here’s how:
SageTV Client can be installed on any computer in your home. It connects to your SageTV Media Center computer through your home network and streams shows, live tv, pictures and music. The available bandwidth of your network, however, will determine whether or not you’ll be able to stream HDTV.
Although streaming standard definition television over wireless G networks works well enough, it just won’t cut it for HDTV. You’ll need full bars on a wireless N network connection or an Ethernet connection to enjoy jitter free HDTV on your SageTV client.
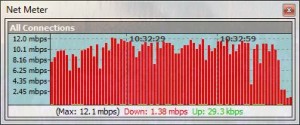
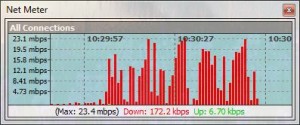
Here are some screen shots which show the network utilization during streaming HDTV playback of “So You Think You Can Dance“:
wireless G:
wireless N:
Comparing the two you can see that over wireless N data rates as high as 23mbps are reached for short periods of time (during an action scene) whereas over wireless G the data rates are limited to around 12mbps causing jittering whenever insufficient bandwidth is available.
Ok now that you’re convinced, here’s that you’ll need with your wireless N router to stream HDTV. This is how I configured my SageTV Client on a Sony VAIO notebook so it auto-skips commercials in HD shows streamed from my Media Center pc:
[step 1] Install SageTV Client (the software).
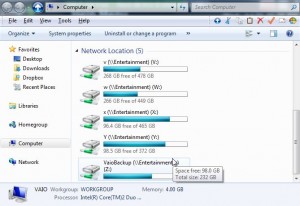
[step 2] Share the drives that contain all content on the SageTV Media Center computer (in my case these drives are named V, W, X, Y, Z). Then map those network shares as drives with the same names on the computer that will have the SageTV Client software installed on it.
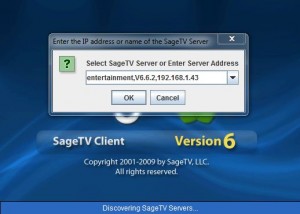
[step 3] Next, launch SageTV Client and chose the SageTV Media Center computer’s IP address as the server.
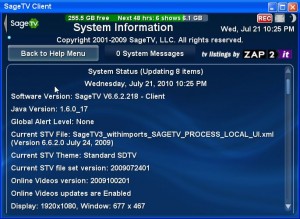
[step 4] Navigate to Setup->Help->System Information and enter 5-3-0-9 (without the dashes) to enable the unsupported UI extras. A light blue dot will appear indicating that the features are enabled.
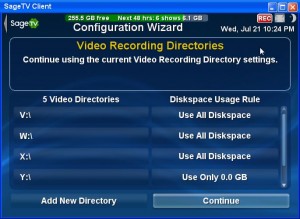
[step 5] Navigate to Setup->Detailed Setup->General->Video Recording Directories->Modify. Add each mapped network drive you added in [step 2].
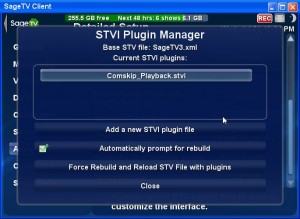
[step 6] Download the Comskip playback plugin and with SageTV shut down, unzip it to C:Program FilesSageTVSageTV (covered in more detail here). Then navigate to Setup->Detailed Setup->Advanced->Manage STVI plugins and install the plugin.
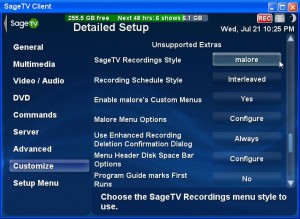
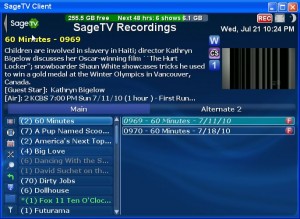
[step 7] Enable malore style recordings for your main recordings screen (total lifesaver if you’ve got lots of content). To do this navigate to Setup->Detailed Setup->Customize->SageTV Recordings Style and choose malore.
[step 8] Configure a remote control (optional), then sit back and watch your HD shows commercial free in any room.
Comments
3 responses to “Streaming HD content over WIFI”
Lu, votre blog a été pour moi très instructif bonne continuation !
How long you been using SageTV?
Lots of steps and kinda confusing…I gave up half way there and decided to buy a TIVO.